 Alex finding a hidden letterbox.

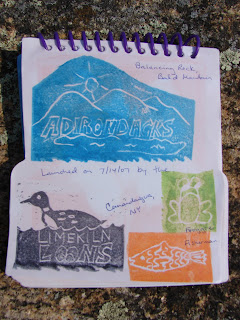
 But while browsing through the logbooks we would see some really awesome hand cut stamps, and we always said we'd give it a try.
 Someone elses's cool hand-cut stamps.
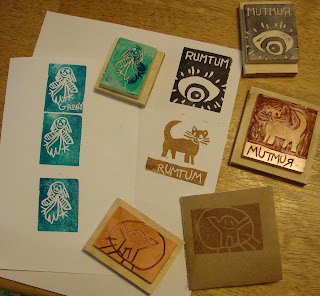
The very first one I cut is the "Rumtum Cat". On Atlas Quest, when you log in you have a member name, and ours is Rumtum. (Sound familiar?) Rum Tum was the name of one of our cats...our favorite cat actually. The name has stuck with us, as you can see. Anyway, I made a Rumtum cat stamp so that we now have a "signature stamp" for our family for letterboxing. (I have to admit that carving the word RumTum backward reminded me a bit of the scene in The Shining when the kid walks around croaking "Redrum, redrum..." and then writes it on the back of the door and then the mom reads it in the mirror.... MURDER. Freaky movie!! One of my favorites.)
Then, realizing how easy this is, I transferred part of a drawing that Ethan did and made a stamp of that.

Then my husband got in on the action and made a second Rumtum stamp...this one is an eyeball... so I guess we have options when letterboxing.  And then I gave my niece a piece of the Speedy Cut block and let her draw a fairy on it. Then she wrote she name and I transferred it backwards onto the stamp. (You can see the progression of her stamp in the images we stamped with it... the bottom one was first. She wasn't happy with the eyes. So we fixed them. Then we added her name.)
  For all the stamps I cut a piece of plywood, stamped the image onto it and then glued the carved stamp block onto the backside.
This was a relatively quick project... Gabby's took about 10 minutes total from conception to stamping with it. And it was pretty easy. I think we'll keep trying to make new ones. I really like the idea of turning one of the kids drawings into a stamp. I have my eye on an R2D2 that Hudson drew. I'll keep you posted.


2 comments:
So very cool. We can't wait to do this, but the boys need to be just a little bit older.
they are great!
It is quite addictive isn't it?
Post a Comment